In our sound session we we guided through both the internal and external microphones on the Panasonic AC160. We were also taught how to level the sound to ensure upon playback it wasn’t too loud or quiet.
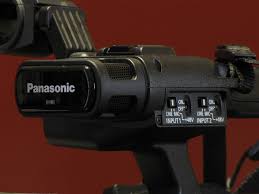
The internal and external microphones are controlled by a small control panel on the side of the camera.
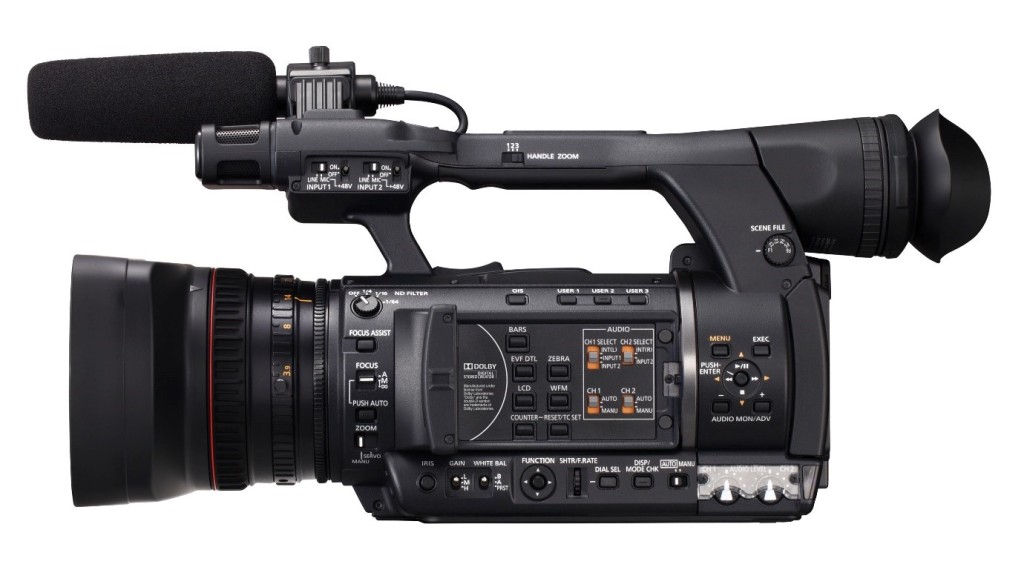
The internal on-board microphone is comprised of a left and a right microphone to record the ambient sound around the camera. Ordinarily this would not be used for audio recording but it can be useful on shoots such as interviews where the interviewer can stand near or behind the camera and capture the audio of them asking the questions without having the need to be near an external microphone, this allows for more flexibility on shoots such as having the interviewee at a distance from the camera or not having the interviewer in shot.
When using an external microphone there are two ports available to use. Once the boom microphone is plugged into the camera the audio input channels can be altered.
On the left of the internal microphone are controls for the two input channels select on and mic on the appropriate input for the external mic.
Then on the audio panel select internal and auto for channel 1, then for channel 2 select whatever input the external mic is and then select manual.
To adjust the audio levels turn the audio dials on the bottom right of the control panel until the audio bars reach the white line.
In terms of general tips for the use of the external microphone:
- Always use a dead cat (windshield) over the microphone, even indoors as it helps reduce noise.
- Hold the boom mic near the subject, as close as possible without it being in shot.
- Hold the boom mic still and keep cables taught to prevent rattling/clanging and general audio distortion.
- If in an echoy space hold the microphone under the subject instead of above to help reduce the audio pick up of the echos.
- Always plug headphones into the camera so you can hear audio playback as it comes into the microphone.
- Always do an audio check before a shoot.
Useful Link: 7:00-7:44 https://www.youtube.com/watch?v=QVCqVe3fmY4
