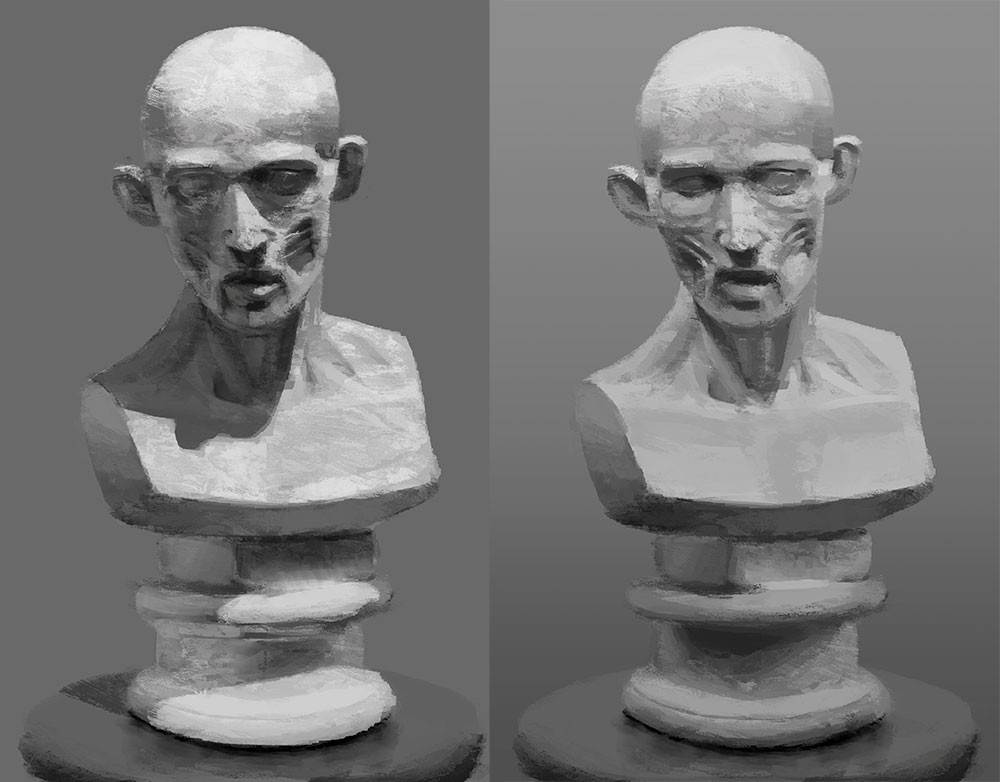
Lighting can set the mood/tone of a piece and there are many ways in which this can be done. It can also be used to just create contrast in the image to make the subject pop.
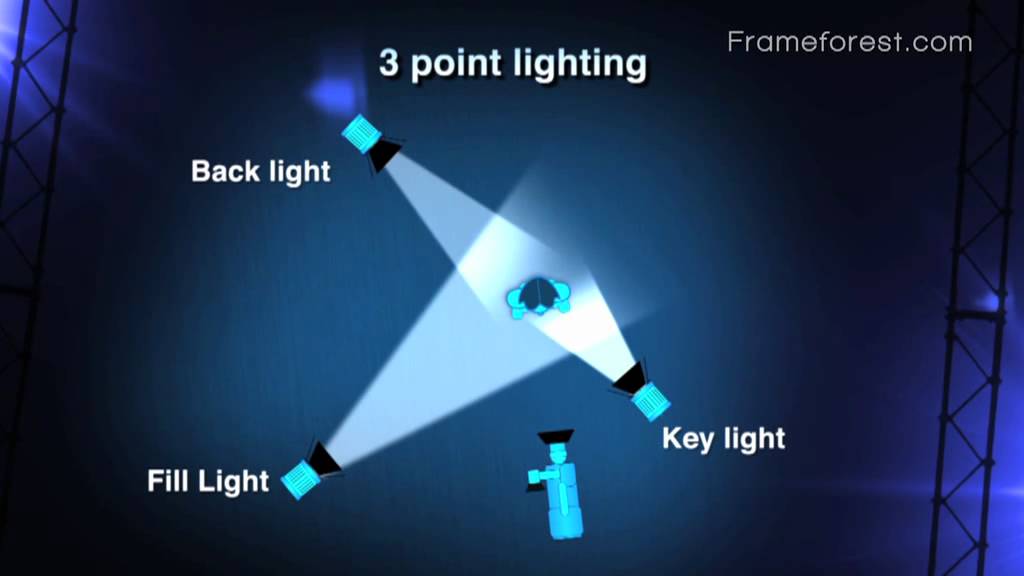
One technique that is commonly used is the 3-point lighting layout. This is often used in interview settings to ensure that the subject is lit perfectly. THe set up consists of 3 lights:
- Key Light: positioned behind the interviewer’s shoulder the key light is the primary light designed to illuminate the subject’s face.
- Side/Fill Light: positioned to the side of the interviewee, the fill light evens the lighting on the subject’s face and helps remove any shadows created by the key light.
- Back/Hair Light: positioned behind the subject this illuminates the space behind their head so that they stand out from the background.
These rules are here to follow if you want this effect however, they can be broken to create a new and creative effect.
Once you’ve decided on the placement of your lights you can then modify the lighting through: Diffusion, CTO, CTB and ND filters.
To diffuse the light the barn doors on the lights can be opened. The flood and spot dial can also be turned to give a more even spread of light. To further diffuse the light diffusion sheets can be used. Diffusion results in softer shadows.
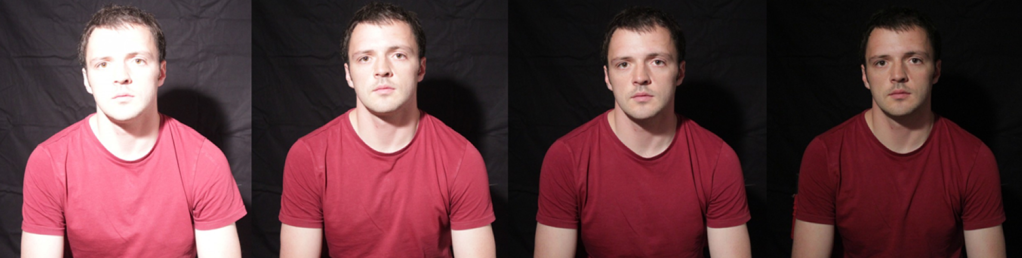
CTO (colour temperature orange) and CTB (colour temperature blue) filters can be used to alter the white balance of an image to create a more neutral effect however they can also be used in excess to create a warm or cool tone.

CTO and CTB filters can also be used on things other than over the electrical lights such as being placed over windows like in these images.

Finally, ND filters which are a feature on the Panasonic AC160 can be used to dim a shot, this an be done to aid an effect of just correctly expose a shot.

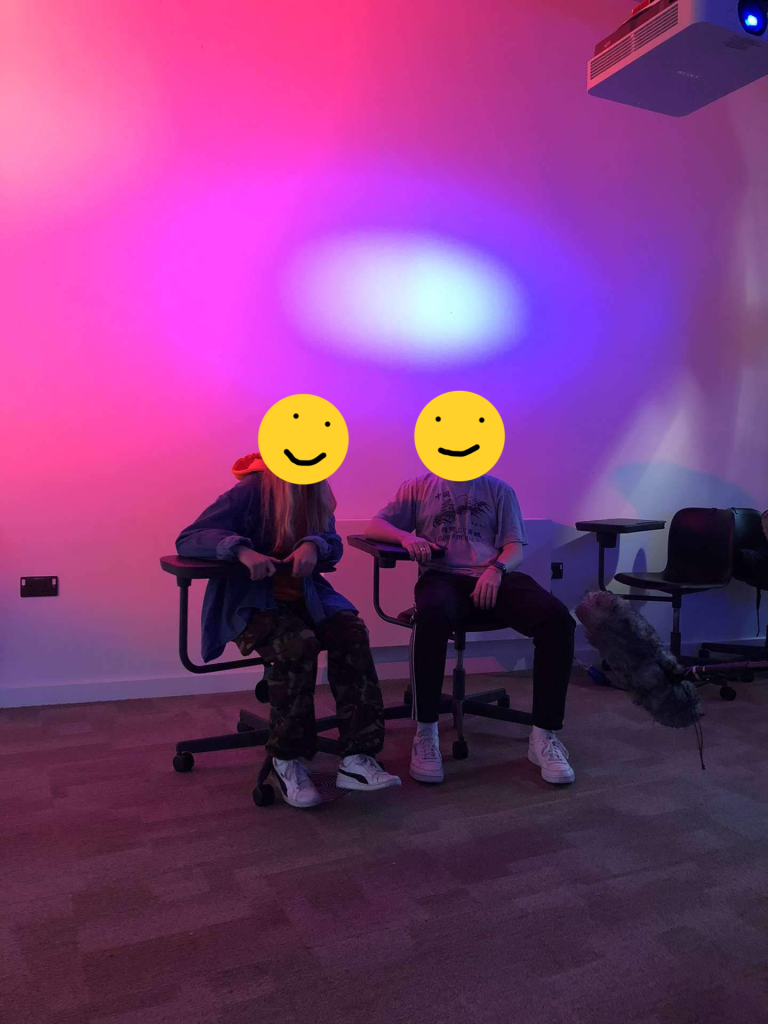
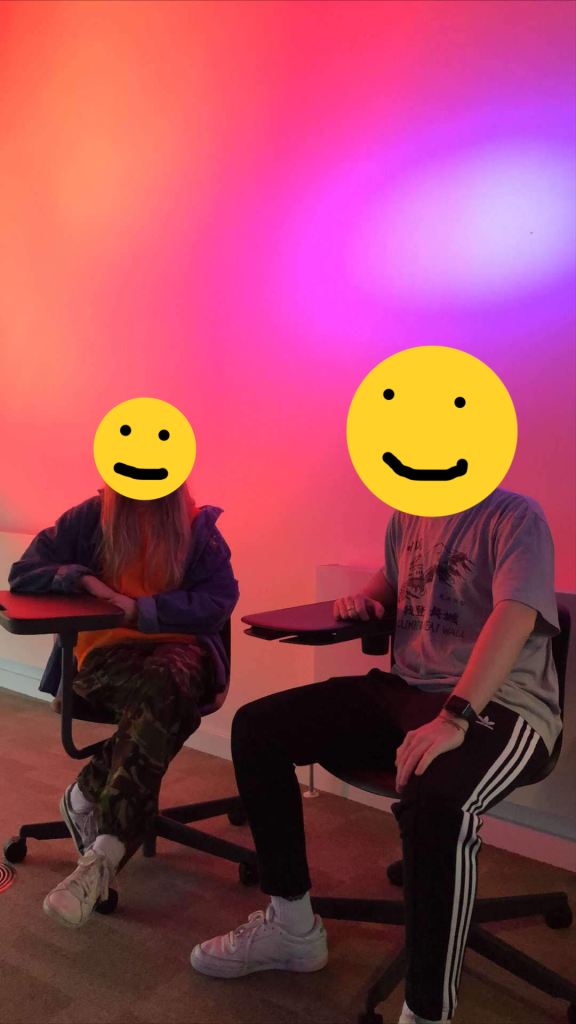
You’ve seen how to can begin to get creative and create more dramatic and artistic shots by using extremes of the filters, sheets and lights, however in some cases such as music videos colour gels can be applied to light to create a variety of coloured lights. Single colours can be used, gels can be placed on top of each other or with diffusion sheets to alter shadows and colour. Gels can also be placed in front of the lens to alter segments of the image. Gels can even be mixed in the image by placing two separate colours opposite each other.
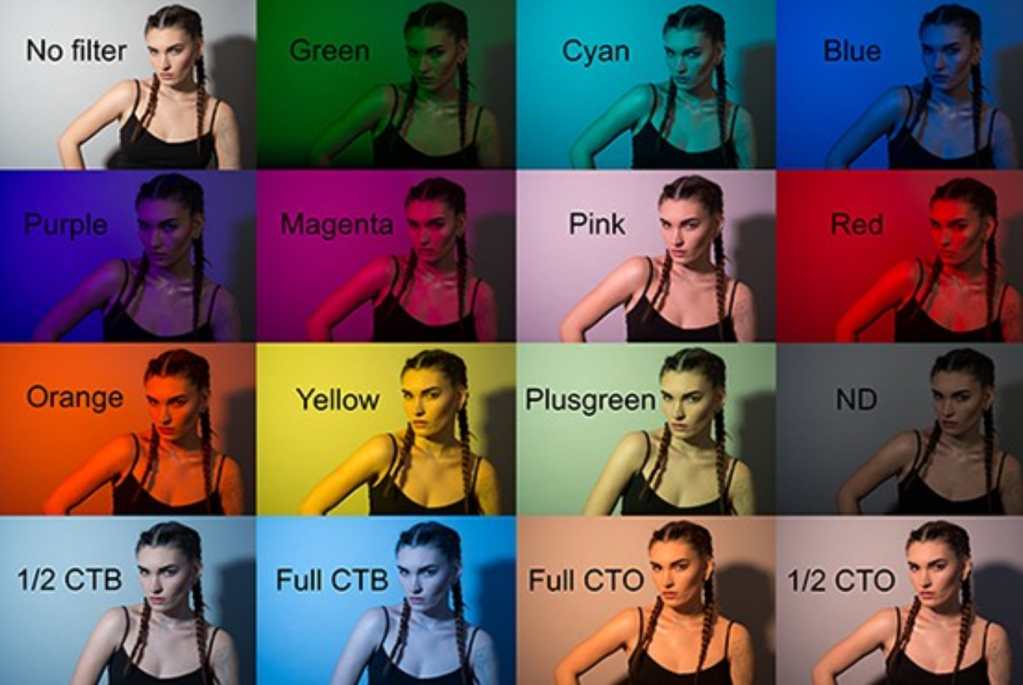
Finally here is an example of colour gel mixing my group and I did when practising in the workshop: