It’s time for a little refresh, now grad projects are in full swing this blog will now be documenting my triumphs and struggles week on week in my role as director and assistant director as well as my experience working on other projects.
Week 5: Lighting (Techniques)
Lighting can set the mood/tone of a piece and there are many ways in which this can be done. It can also be used to just create contrast in the image to make the subject pop.
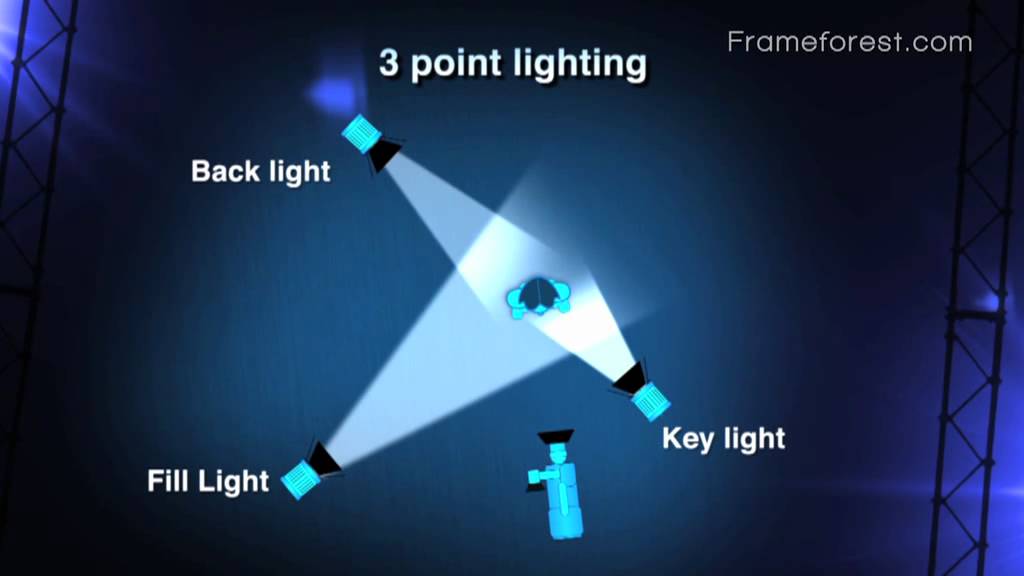
One technique that is commonly used is the 3-point lighting layout. This is often used in interview settings to ensure that the subject is lit perfectly. THe set up consists of 3 lights:
- Key Light: positioned behind the interviewer’s shoulder the key light is the primary light designed to illuminate the subject’s face.
- Side/Fill Light: positioned to the side of the interviewee, the fill light evens the lighting on the subject’s face and helps remove any shadows created by the key light.
- Back/Hair Light: positioned behind the subject this illuminates the space behind their head so that they stand out from the background.
These rules are here to follow if you want this effect however, they can be broken to create a new and creative effect.
Once you’ve decided on the placement of your lights you can then modify the lighting through: Diffusion, CTO, CTB and ND filters.
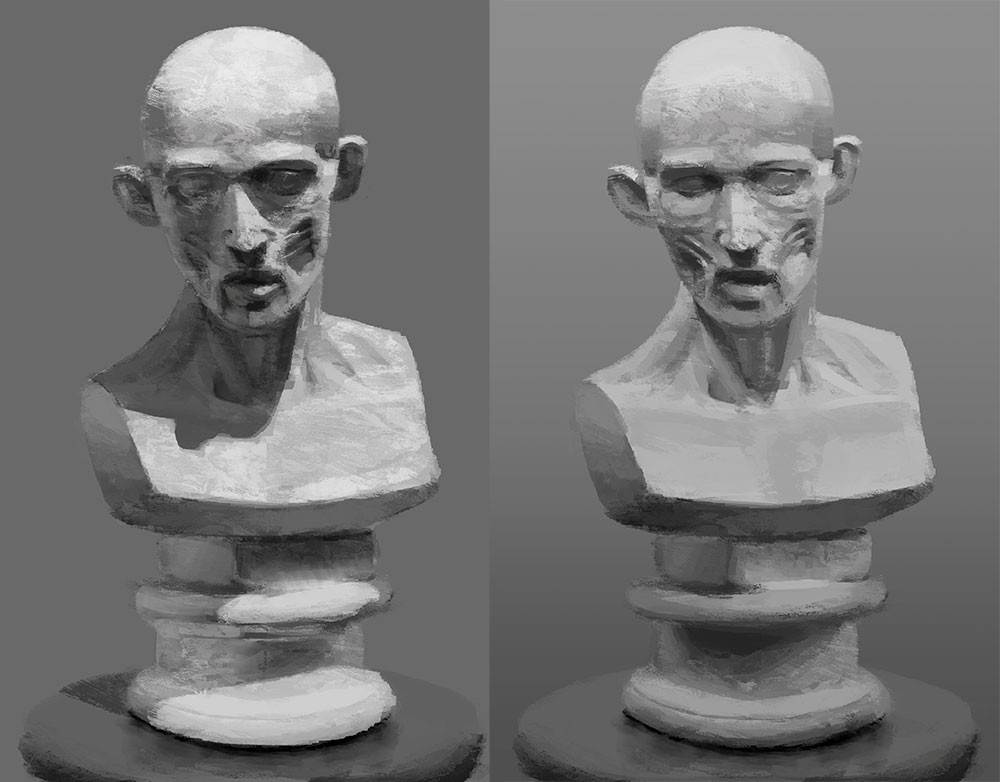
To diffuse the light the barn doors on the lights can be opened. The flood and spot dial can also be turned to give a more even spread of light. To further diffuse the light diffusion sheets can be used. Diffusion results in softer shadows.
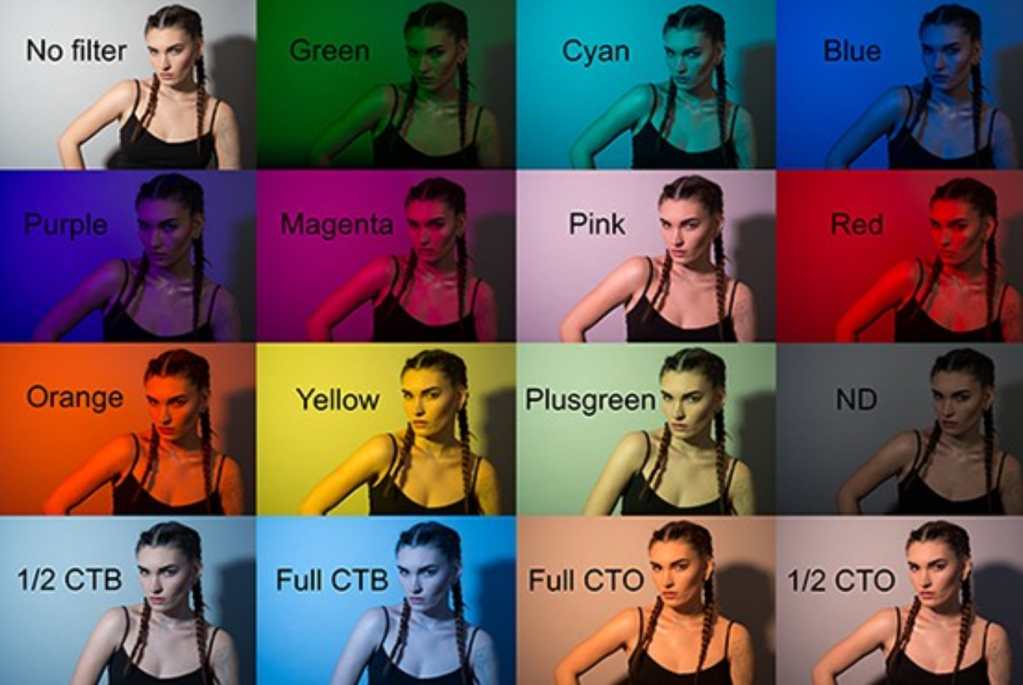
CTO (colour temperature orange) and CTB (colour temperature blue) filters can be used to alter the white balance of an image to create a more neutral effect however they can also be used in excess to create a warm or cool tone.

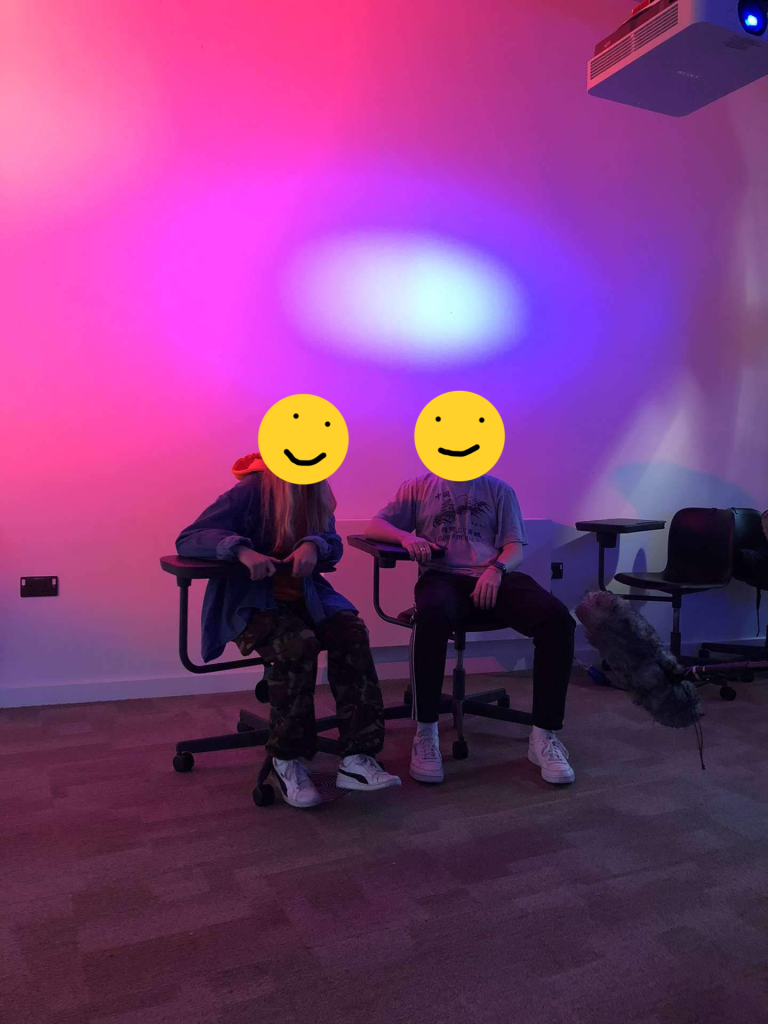
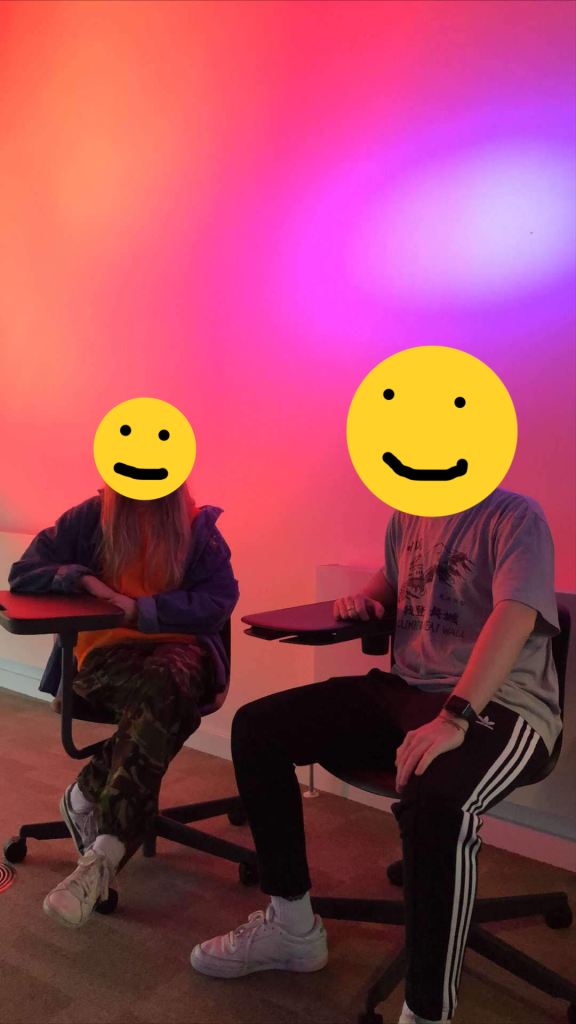
CTO and CTB filters can also be used on things other than over the electrical lights such as being placed over windows like in these images.

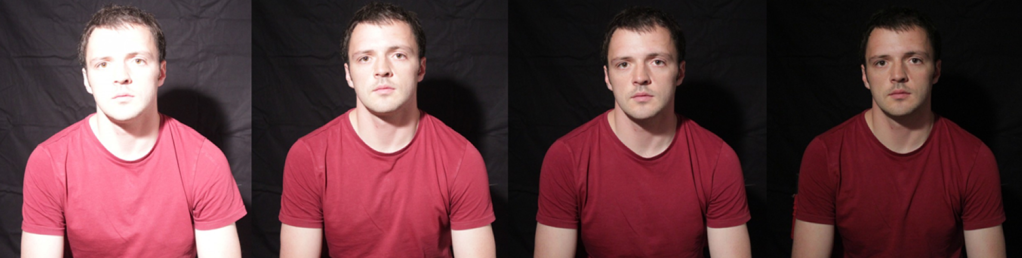
Finally, ND filters which are a feature on the Panasonic AC160 can be used to dim a shot, this an be done to aid an effect of just correctly expose a shot.

You’ve seen how to can begin to get creative and create more dramatic and artistic shots by using extremes of the filters, sheets and lights, however in some cases such as music videos colour gels can be applied to light to create a variety of coloured lights. Single colours can be used, gels can be placed on top of each other or with diffusion sheets to alter shadows and colour. Gels can also be placed in front of the lens to alter segments of the image. Gels can even be mixed in the image by placing two separate colours opposite each other.
Finally here is an example of colour gel mixing my group and I did when practising in the workshop:
Week 4: Lighting (Kits and Safety)
This week we focused on lighting. Lighting is a key aspect to making good quality films as it creates a higher contrast in the image making it easier for the camera to focus on the subject of the image. Good lighting removes the change of having under-exposed images. Lighting also allows for another layer of creativity as you can play around with shadows, colour, contrast and highlights.

The lighting kits we can rent out from the kit desk consist of 3x Arri 800Watt ‘Redheads’, 3x portable lighting stands and an RCD trip switch. Soon a socket tester will be added as well so we can check how stable the mains electricity is before we use the socket- this will prevent an electrical surge which if not protected against could burst a bulb. We can also get a tube of colour gels/filters which can be used for creative effect.

Before we can think about how we’re going to use lighting creatively we have to think logistically and plan how we will transport the lights and how long that will take, we also have to plan for set up time and then plan for a longer pack up time as lights should be left to stand and cool for 20mins before being put away.
Safety wise when using the lights you must always wear gloves to prevent burns. Keep lights away from flammable materials, curtains and other furniture. Allow 20mins cool down time (as stated earlier) and never handle old bulbs with your fingers when changing them out for new ones. Then in terms of electrical safety an RCD trip switch should always be used to protect against electrical surges, however to further prevent this occurring sockets should always be tested before use. Don’t overload sockets and always extend cables to avoid overheating through electrical induction else you risk the cables melting. Finally ensure the cables are gaffer taped down if they lie across any access routes. Use nylon rope or velcro on lights to tie cable to the lighting stand pole in order to take tension off the cable, then feed the rest of the cable under one leg of the stand so help protect the stand from toppling over. To further prevent the lighting stand from falling over make sure the legs of the tripod are parallel to the floor.
Before shooting it’s also helpful to consider the weather, specifically wind and rain as that will impact the safety of using lights and lighting stands.
That’s all for lighting safety, in my next post I’ll discuss lighting techniques and how to use colour gels and filters.
Week 3: Composition
In filming and photography there are many ways in which to obtain an aesthetically pleasing shot, these are rules to be followed and broken in order to aid story telling and artistry.
There are many rules, however we only discusses a select few in detail.
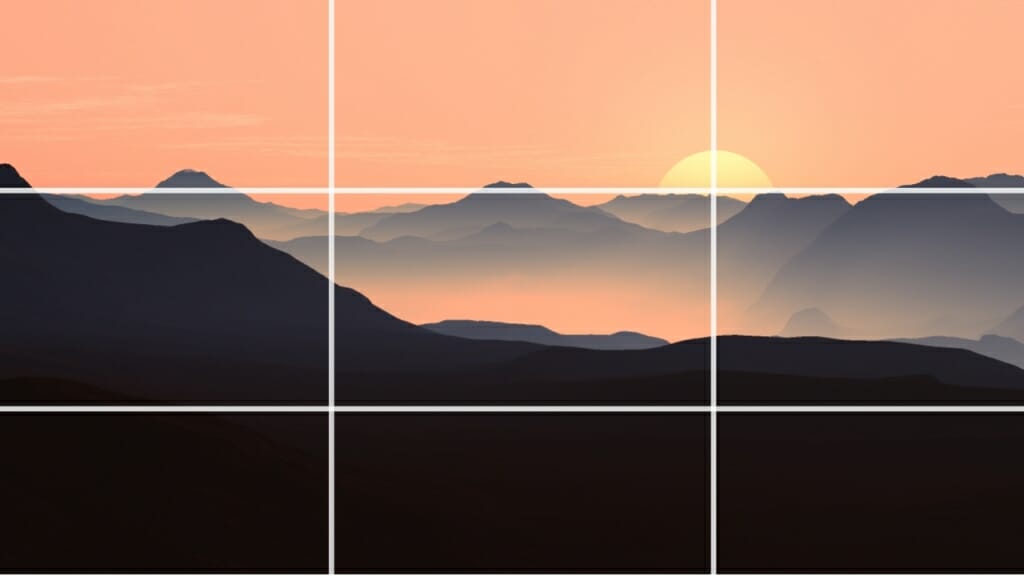
The Rule of Thirds
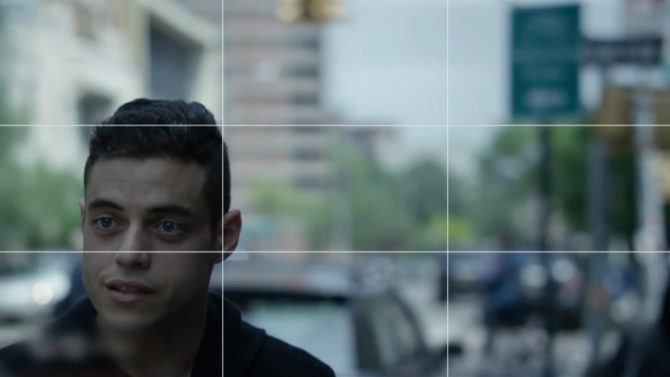
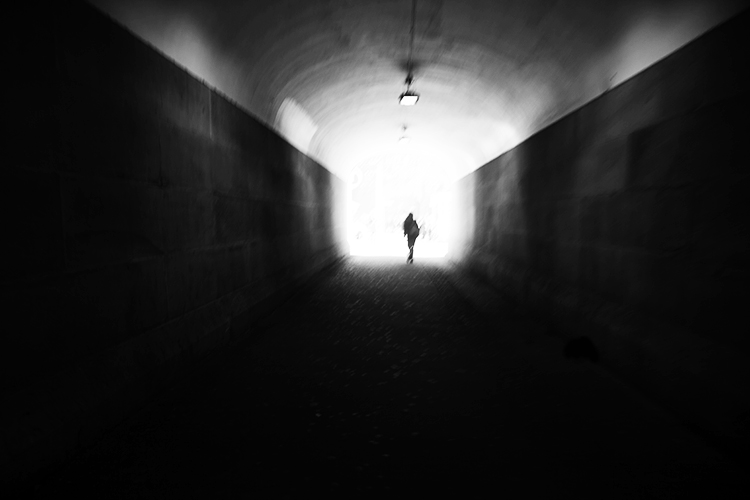
This simply the idea that images are cut up into a 3×3 grid and the human eye is more attracted to images that place the subject of the image in a chosen third, the best way to pick a third is work out if you need looking room to the left or right or if you need head room in your image. This rule however can be broken and is for artistic effect in Mr Robot where the looking room is sacrificed to create a sense of claustrophobia and unease.


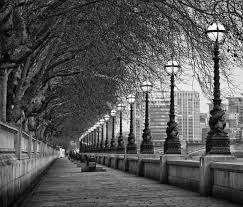
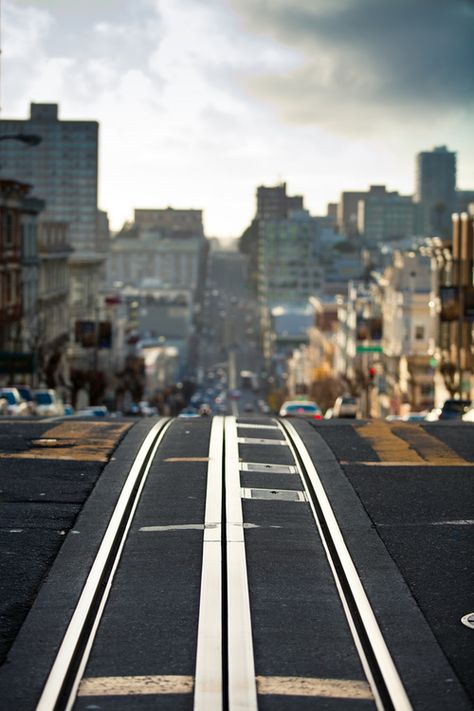
Leading Lines
This is the idea that a camera operator positions the camera along a set of lines that all appear lead in the same point as it help to draw the viewer’s eyes to the subject of the image.

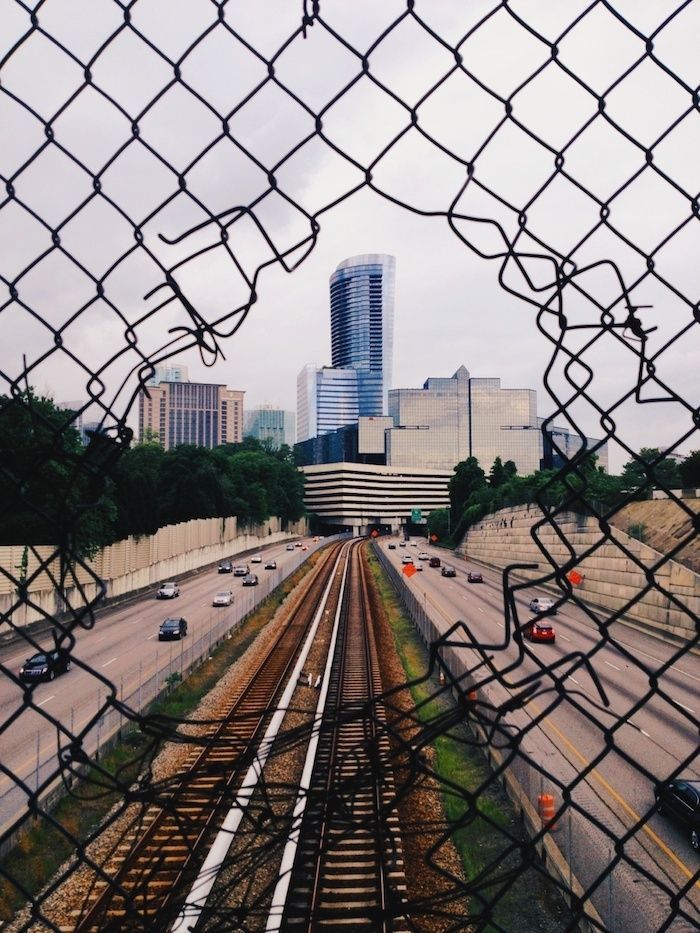
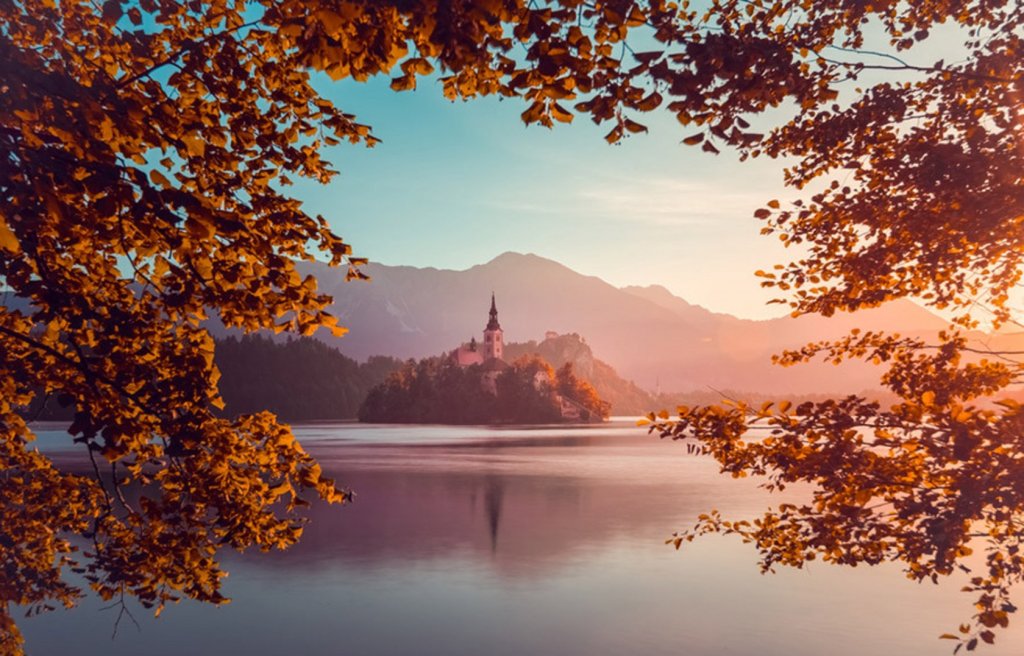
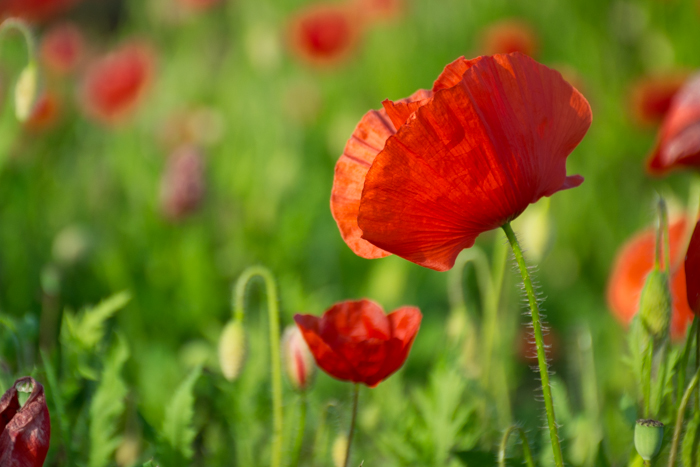
Framing
This is where the subject is quite literally framed in order to draw attention to themselves.
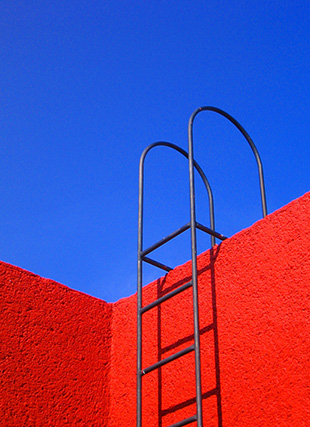
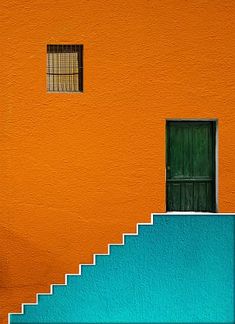
Contrasting Colours
These are shots in which the two colours in a shot are so bold and different that it sets the subject of the photo far apart from the background.
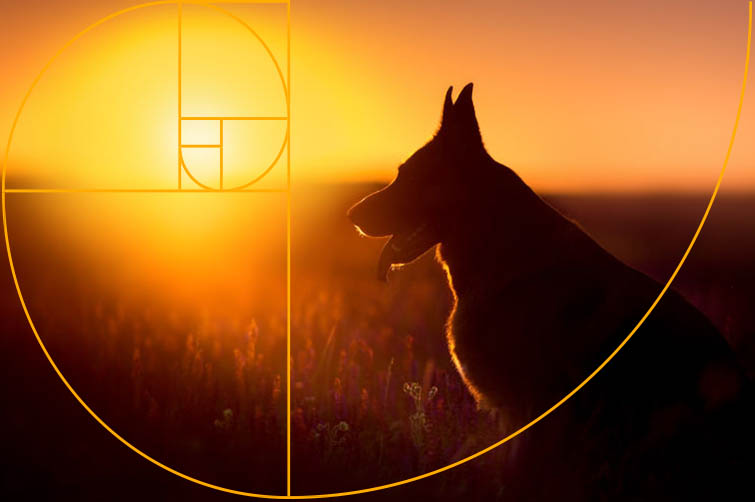
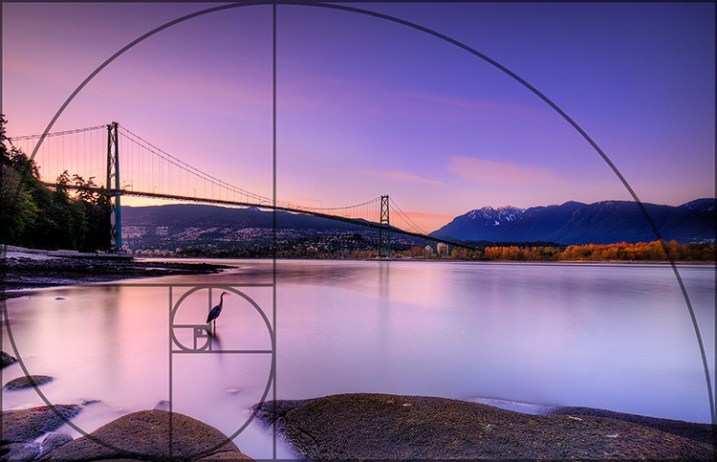
Rule of Thirds
We weren’t taught this one in the session but this is one I was are of prior to the workshop. The rule of thirds uses the idea of the golden ratio which creates a spiral (the golden spiral) in which the subject of the image sits. It helps to pin point spots in images which are aesthetically pleasing to look at.
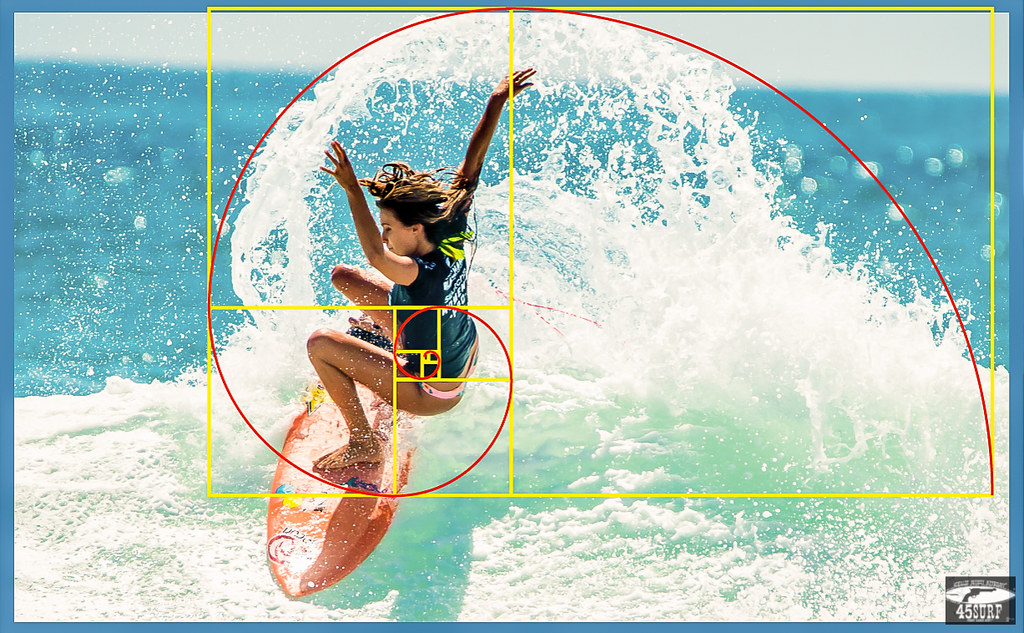
Here’s a link with some other composition rules not mentioned here: https://www.photographymad.com/pages/view/10-top-photography-composition-rules
Week 2: Sound
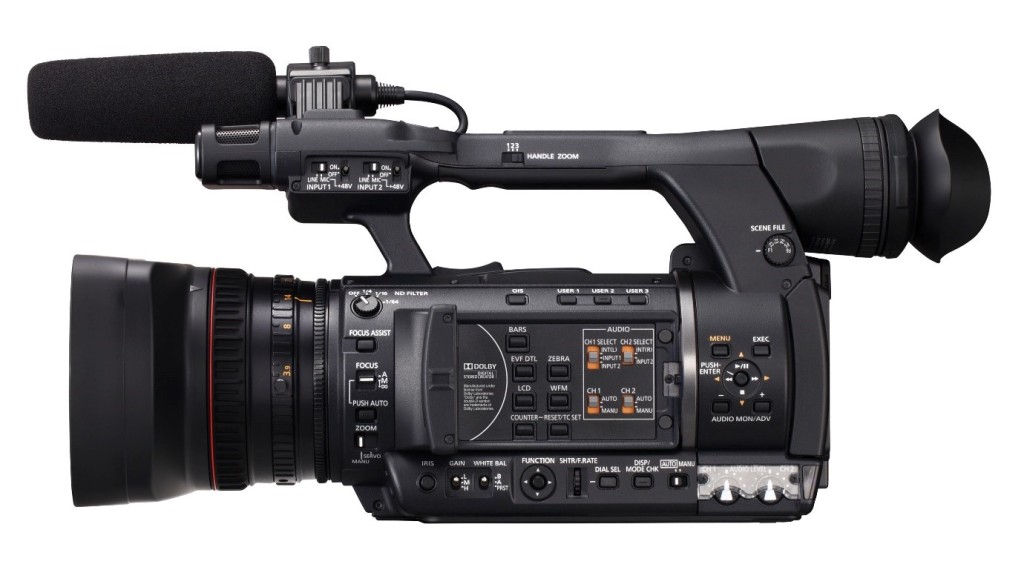
In our sound session we we guided through both the internal and external microphones on the Panasonic AC160. We were also taught how to level the sound to ensure upon playback it wasn’t too loud or quiet.
The internal and external microphones are controlled by a small control panel on the side of the camera.
The internal on-board microphone is comprised of a left and a right microphone to record the ambient sound around the camera. Ordinarily this would not be used for audio recording but it can be useful on shoots such as interviews where the interviewer can stand near or behind the camera and capture the audio of them asking the questions without having the need to be near an external microphone, this allows for more flexibility on shoots such as having the interviewee at a distance from the camera or not having the interviewer in shot.
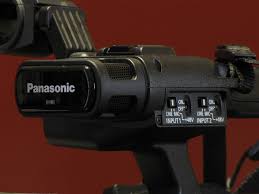
When using an external microphone there are two ports available to use. Once the boom microphone is plugged into the camera the audio input channels can be altered.
On the left of the internal microphone are controls for the two input channels select on and mic on the appropriate input for the external mic.
Then on the audio panel select internal and auto for channel 1, then for channel 2 select whatever input the external mic is and then select manual.
To adjust the audio levels turn the audio dials on the bottom right of the control panel until the audio bars reach the white line.
In terms of general tips for the use of the external microphone:
- Always use a dead cat (windshield) over the microphone, even indoors as it helps reduce noise.
- Hold the boom mic near the subject, as close as possible without it being in shot.
- Hold the boom mic still and keep cables taught to prevent rattling/clanging and general audio distortion.
- If in an echoy space hold the microphone under the subject instead of above to help reduce the audio pick up of the echos.
- Always plug headphones into the camera so you can hear audio playback as it comes into the microphone.
- Always do an audio check before a shoot.
Useful Link: 7:00-7:44 https://www.youtube.com/watch?v=QVCqVe3fmY4
Week 1: Camera Basics
The camera, arguably the most important creative instrument in TV can appear quite daunting to a new user however after some practice over the basics, things made more sense.

The main functions we looked at on the Panasonic AC160, were different ways in altering the exposure. We learnt about the exposure triangle and how light is measured in Kelvin on the Kelvin scale, 3200 degrees kelvin being normal tungsten lighting commonly found in indoor spaces and 5500 degrees kelvin being direct summer sunlight at noon which is useful for outside shoots. Knowing these values helps the camera operate alter the white balance to achieve a true white as the lower light measures in Kelvin the warmer it is and the higher, the cooler it is. To fix the white balance the camera operator can hold a white card (if needed, often used on outdoor shoots) or zoom in on a white wall or surface and set the right switch to A or B this will create a custom preset, then they can press the AWB button and the camera should automatically white balance.
ISO/Gain can also be controlled in the same area of the camera, on the left most switch the camera operator can select either L, M or H. L should be used for normal conditions, M or H are if extra lighting is required in the shot however the lighter a shot is made via gain the noisier the image looks.

Iris can also be used to alter the exposure of an image, the iris button when clicked allows the camera operator to turn the dial on the lense and adjust the aperture of the camera, the higher the f/ stop the wider the opening of the lens and so the deeper the depth of field and the lighter the shot is.
The final side to the exposure triangle is shutter speed, to control this the camera operator must turn the shutter speed dial the higher the shutter speed the higher the exposure, however the camera should be kept completely still as it also adds motion blur.
If a shot is particularly over exposed due to sunlight or perhaps snow a Neutral Density Filter (ND filter) can be turned on which act like sun glasses to the camera lens, darkening the image slightly.

These are all the basics that were discussed with regards to exposure and white balance. With regards to other basics surrounding the camera; make sure your battery is always charged and bring backups, make sure the camera is level on the tripod by using the spirit level, to get a steady zoom use servo mode, make sure your shot is always in focus and finally when using the uni’s SD cards format the card before beginning to clear space for your footage.
In my next post I’ll discuss sound and all the tips and advice surrounding that.
Emily
Useful Video: https://www.youtube.com/watch?v=QVCqVe3fmY4
